Headless CMS > Extending Functionality
Customize Entry List Filters
Learn how to add, replace, or remove filters in the Entry List.
This feature is available since Webiny v5.37.0.
- how to add a custom filter to the Entry List
- how to discover existing filter names
- how to change the position of filters, remove, or replace an existing filter
Overview
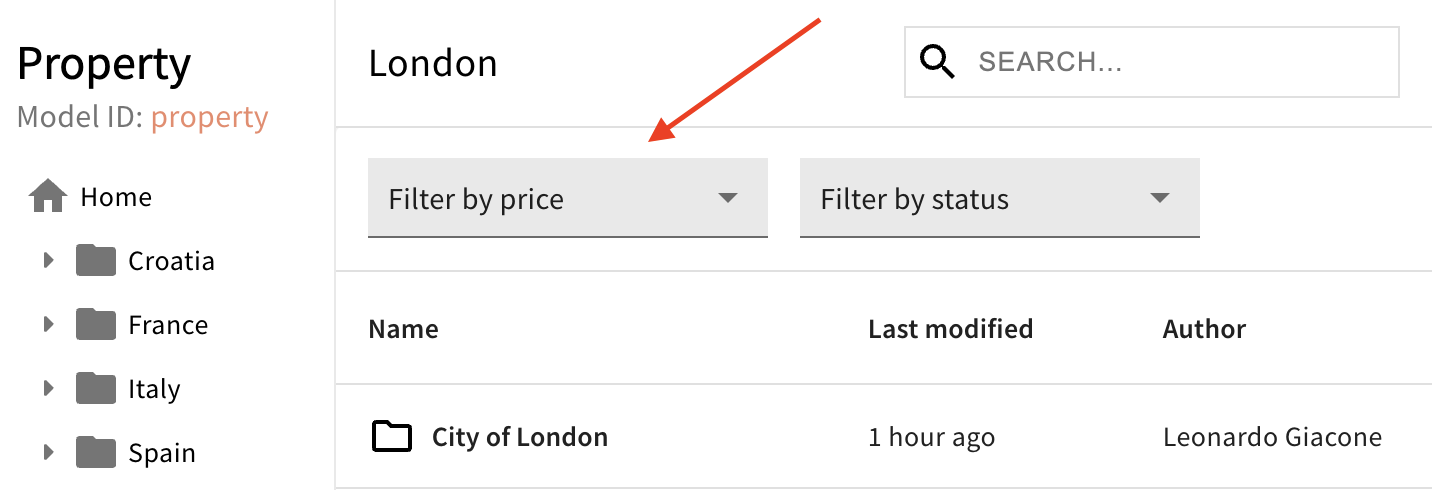
By default, Headless CMS offers a single built-in filter to help you quickly filter entries based on their status (draft, published, unpublished).
To work with filters, you need to use the ContentEntryListConfig component. For this article, we will use the Filter component, located in the Browser namespace.
In the admin app, Browser is the main area of a Content Model Entry List, where users browse entries, apply filters, perform searching, organize entries into folders, create new entries, etc.
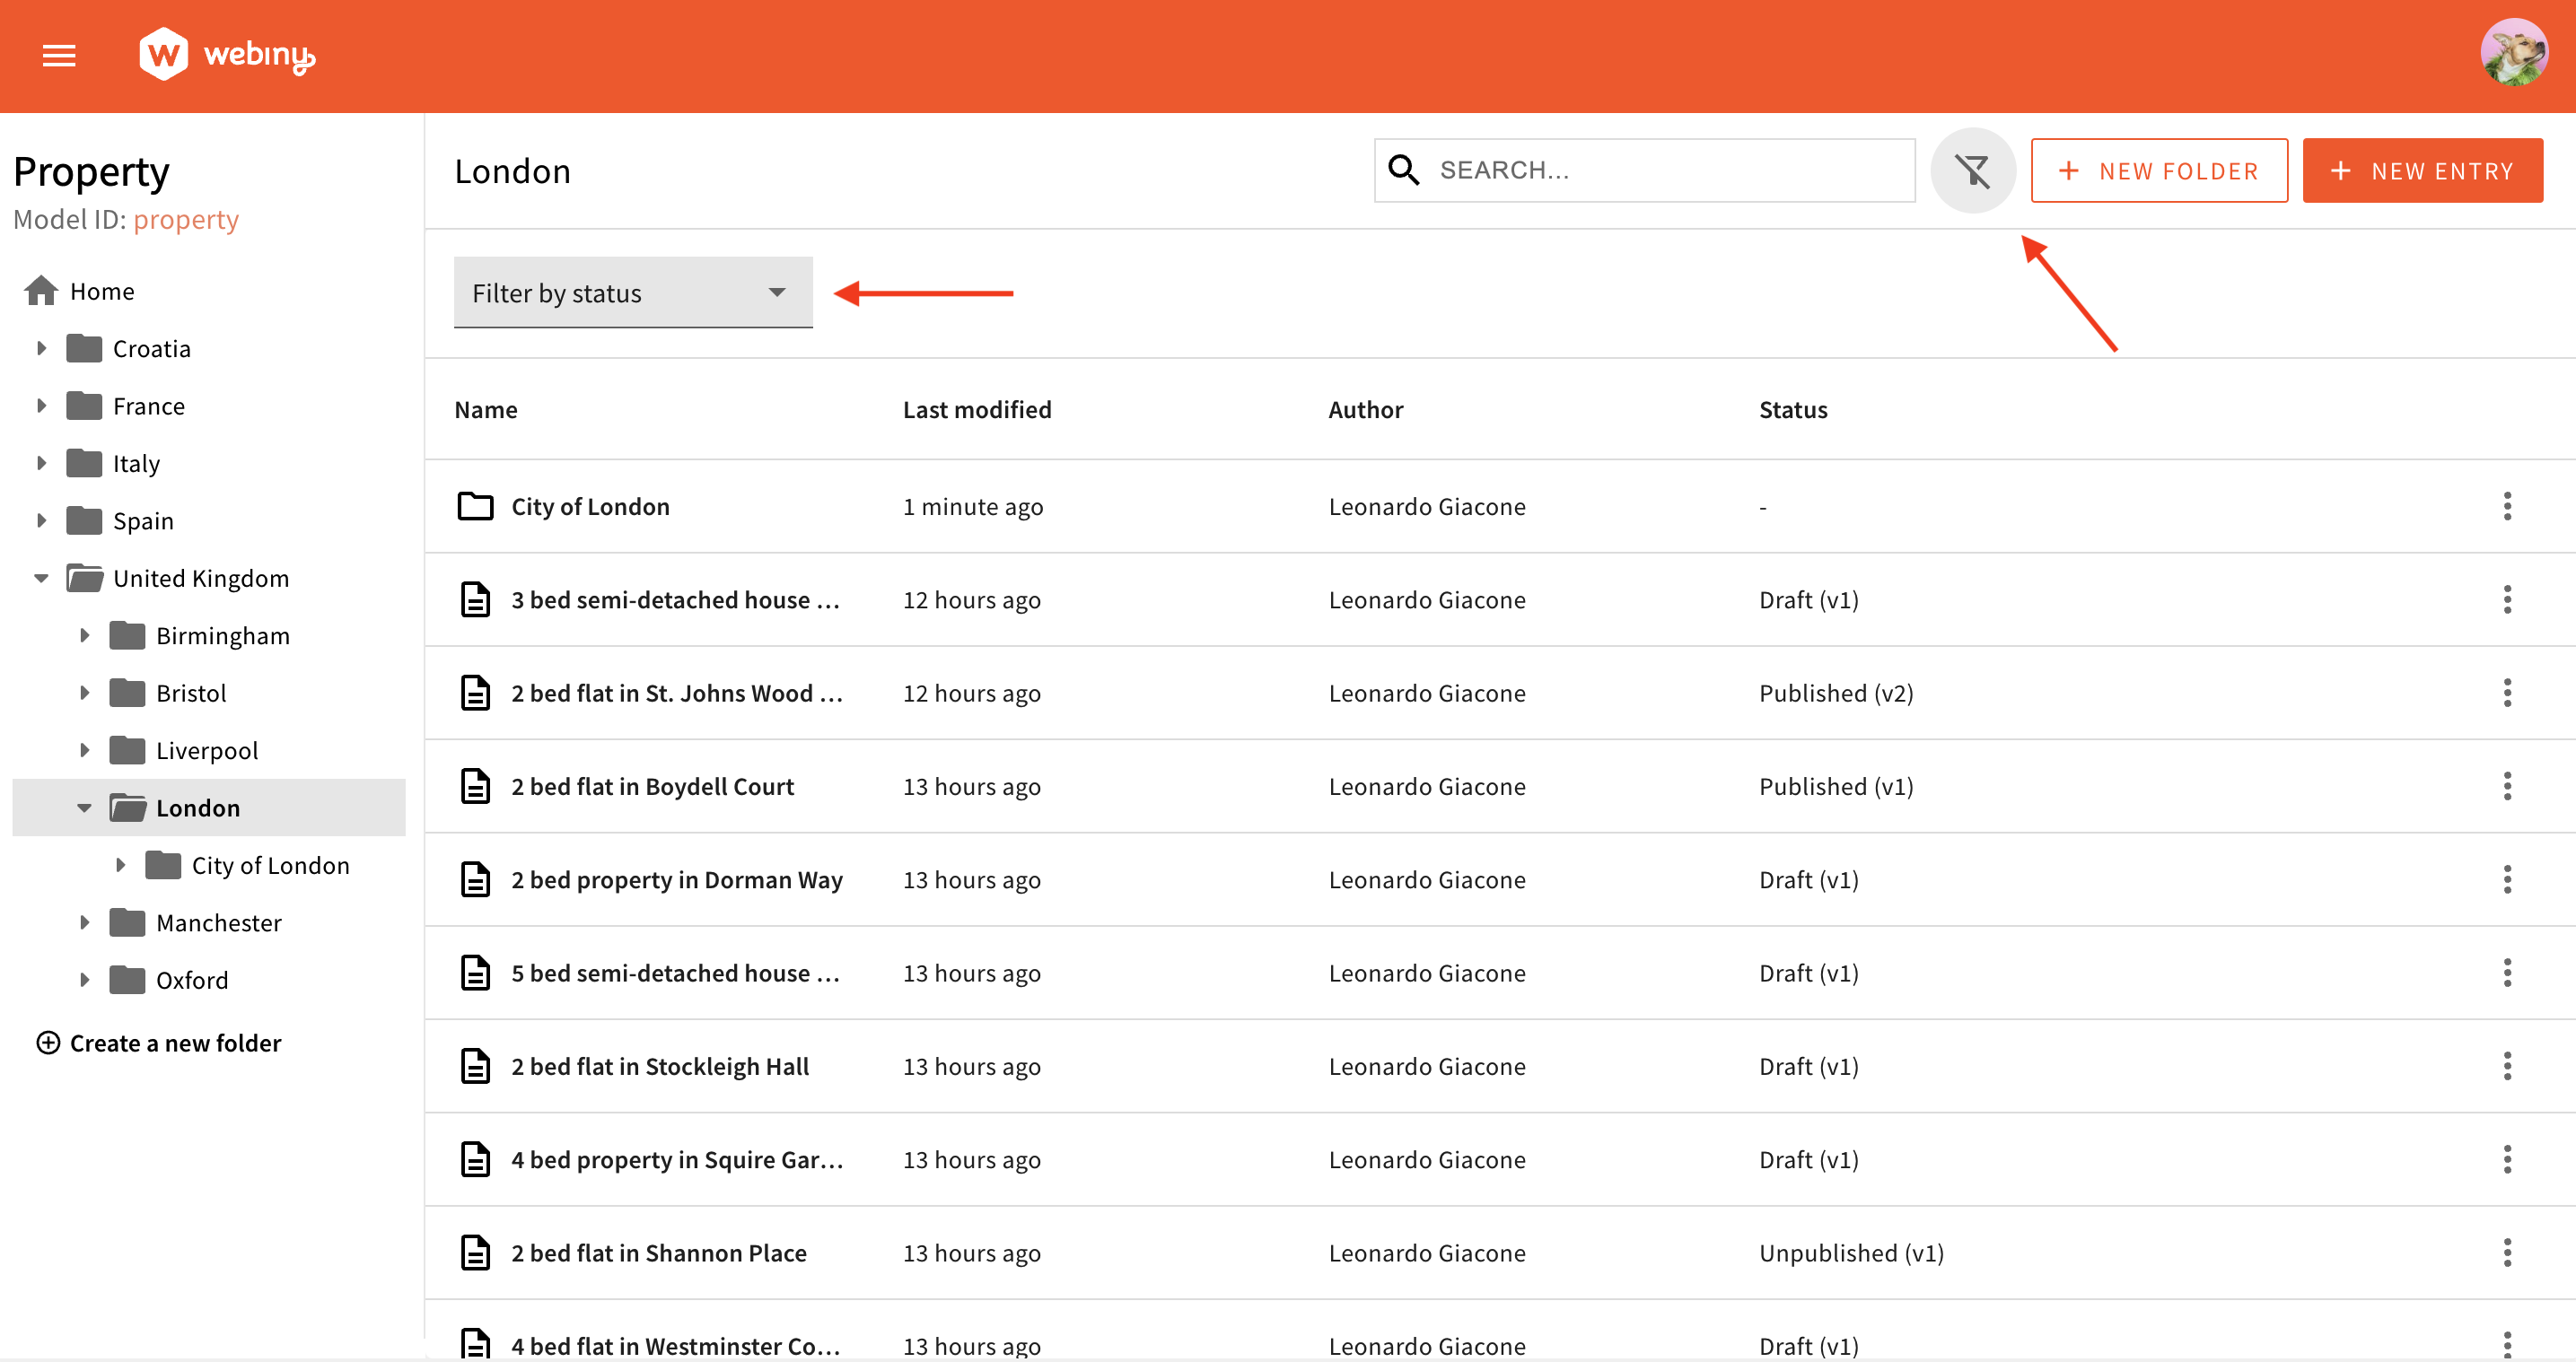 Browser and the built-in filter by status
The code examples below are based on a content model called Property with the following fields:
titletext inputpricenumber input
Add a Filter
To add a new filter, you need a regular React element to pass to the Browser.Filter component through the element prop. You must also include the name prop, which serves as a unique identifier, enabling further interactions, such as positioning, removing, and replacing.
By declaring the modelIds prop, you can define in which Content Model Entry List you want to show your custom filter. If you exclude this prop, the filter will be registered for all models in the system.
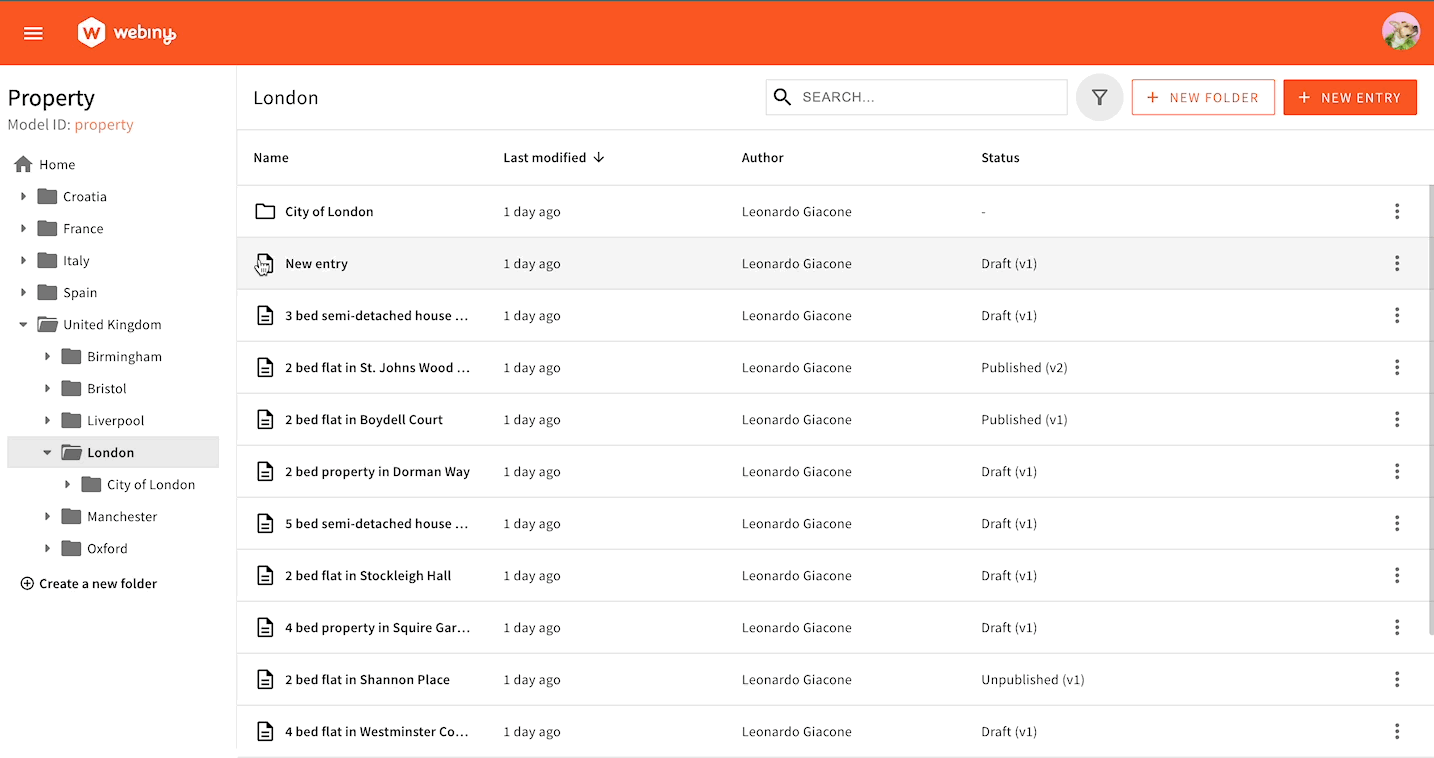
In the example above, the next time you open your property content model browser and expand the filters bar, you’ll see your new element there. This is the whole process of registering a new filter element. In the following sections, we’ll focus on implementing actual filtering.
Simple Filter
Here’s an example of how to create a filter that displays only “Deluxe” properties. We consider a property to be “Deluxe” if its price is over 1 million.
Under the hood, filters are handled via a regular form component: this means we can hook into the form to set new filter values. We’re using the useBind hook and give it a name. This name will become a key within the form data object, which will be passed to the GraphQL query. To unset a filter, we set undefined.
You can write any filtering logic based on Headless CMS’s built-in GraphQL API filtering.
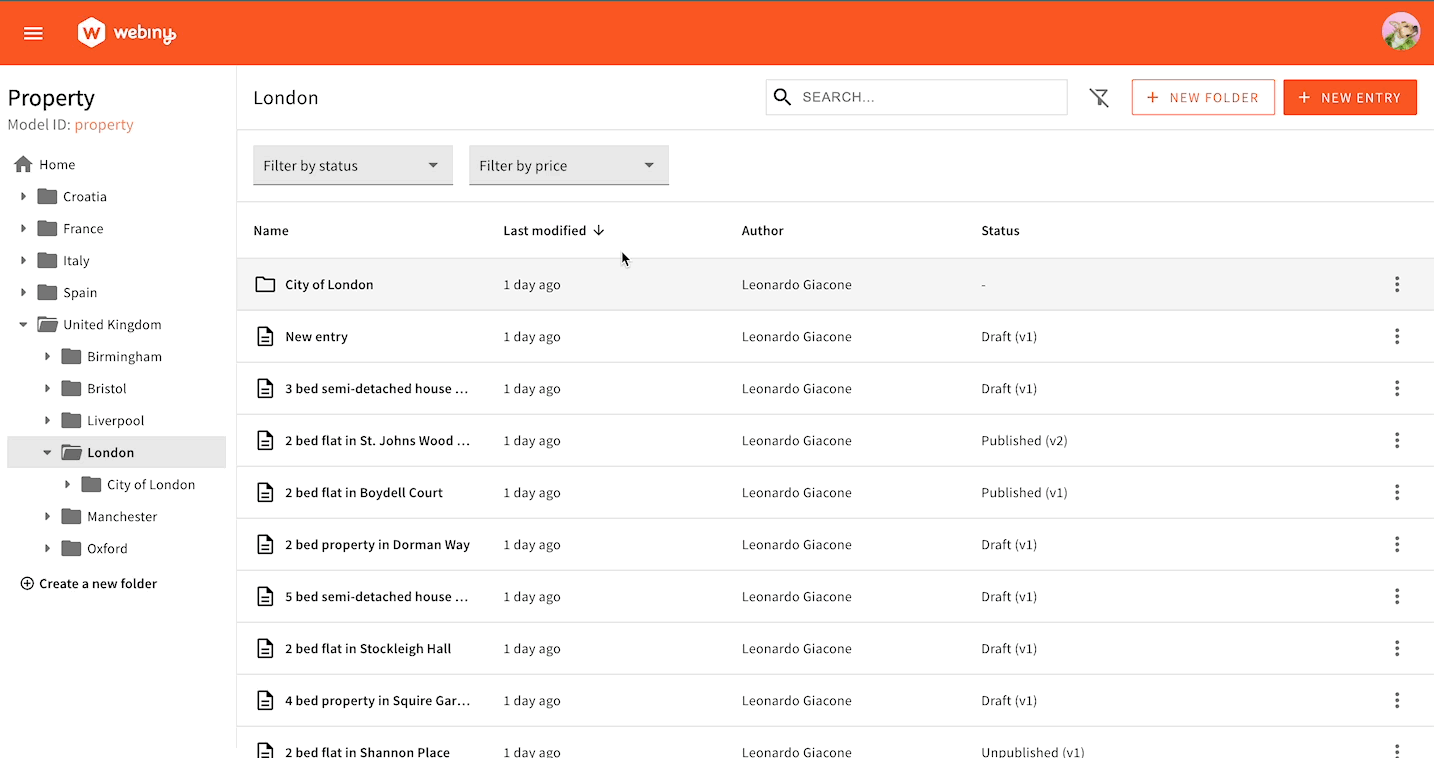
 Toggle Filter in Action
Advanced Filter
Sometimes, you need to implement filtering logic that is more complex than just setting a single value. The following example shows a filter in the form of a dropdown menu, where each option needs to use a different GraphQL query operator. > 500k needs to use the price_gt key, while < 500k needs to use the price_lt key. This cannot be achieved with simple form binding.
To correctly format our filters, we’ll use the Browser.FiltersToWhere component to register our custom converter, allowing you to convert form data to a valid GraphQL query input. With this approach, you have full control over values that will be passed to the API when the user interacts with the filters UI.
 Dropdown Filter in Action
Discovering Filters
This section demonstrates how you can discover the names of existing filters. This is important for further sections on positioning, removing, and replacing filters.
The easiest way to discover existing filters is to use your browser’s React Dev Tools plugins and look for the Filters element. From there, you can either look for filters props or look at the child elements and their keys:
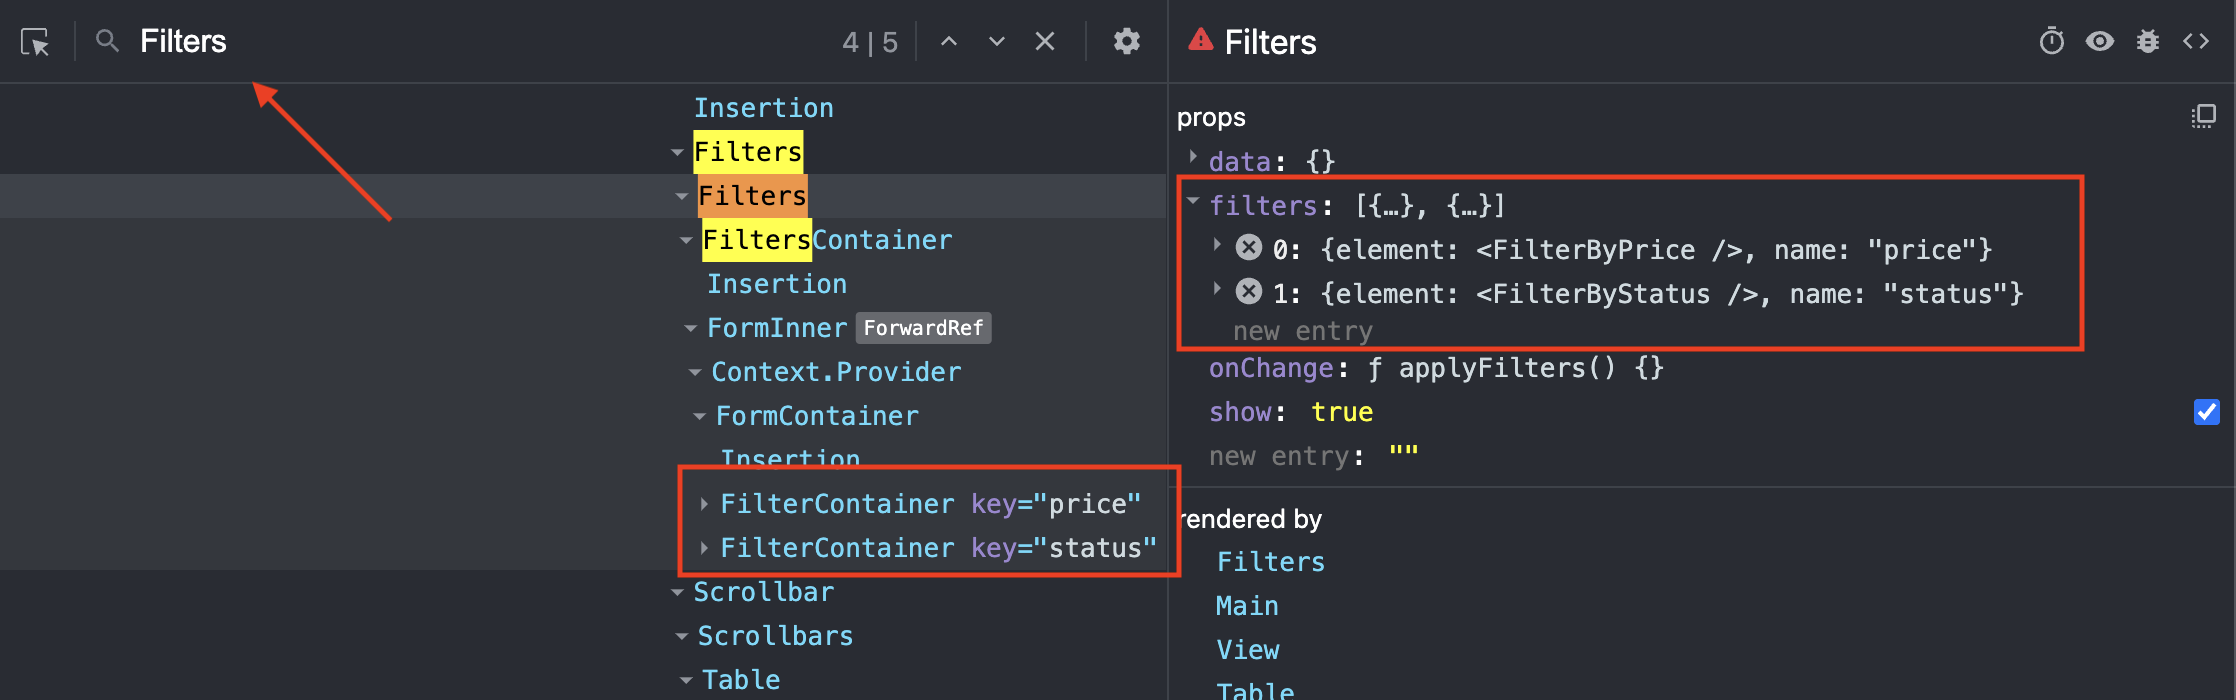 Discover Existing Filters
Positioning a Filter
To position your custom filter before or after an existing filter, you can use the before and after props on the <Browser.Filter> element:
 Position Your Filter Before Another Filter
Removing a Filter
Sometimes you might want to remove an existing filter. All you need to do is reference the filter by name and pass a remove prop to the <Browser.Filter> element:
Replacing a Filter
To replace an existing filter with a new filter element, you need to reference an existing filter by name and pass a new component via the element prop: